Voice cloning: record a sample and voice texts in your own voice

Voice cloning is a tab in the Video avatars section that builds a digital copy of your voice from a single recording: you upload a file or record 10 seconds to 3 minutes of speech with your microphone, give the clone a name — and from then on you voice any text or video with that voice without going back to the mic. The clone is trained on the server, appears in the shared voice catalog and works in the Avatars & generation and Text to speech tabs. Below we cover how to record a good sample, what to pick in the interface, where to use the clone and what it costs. The tool lives in the Voice cloning tab.
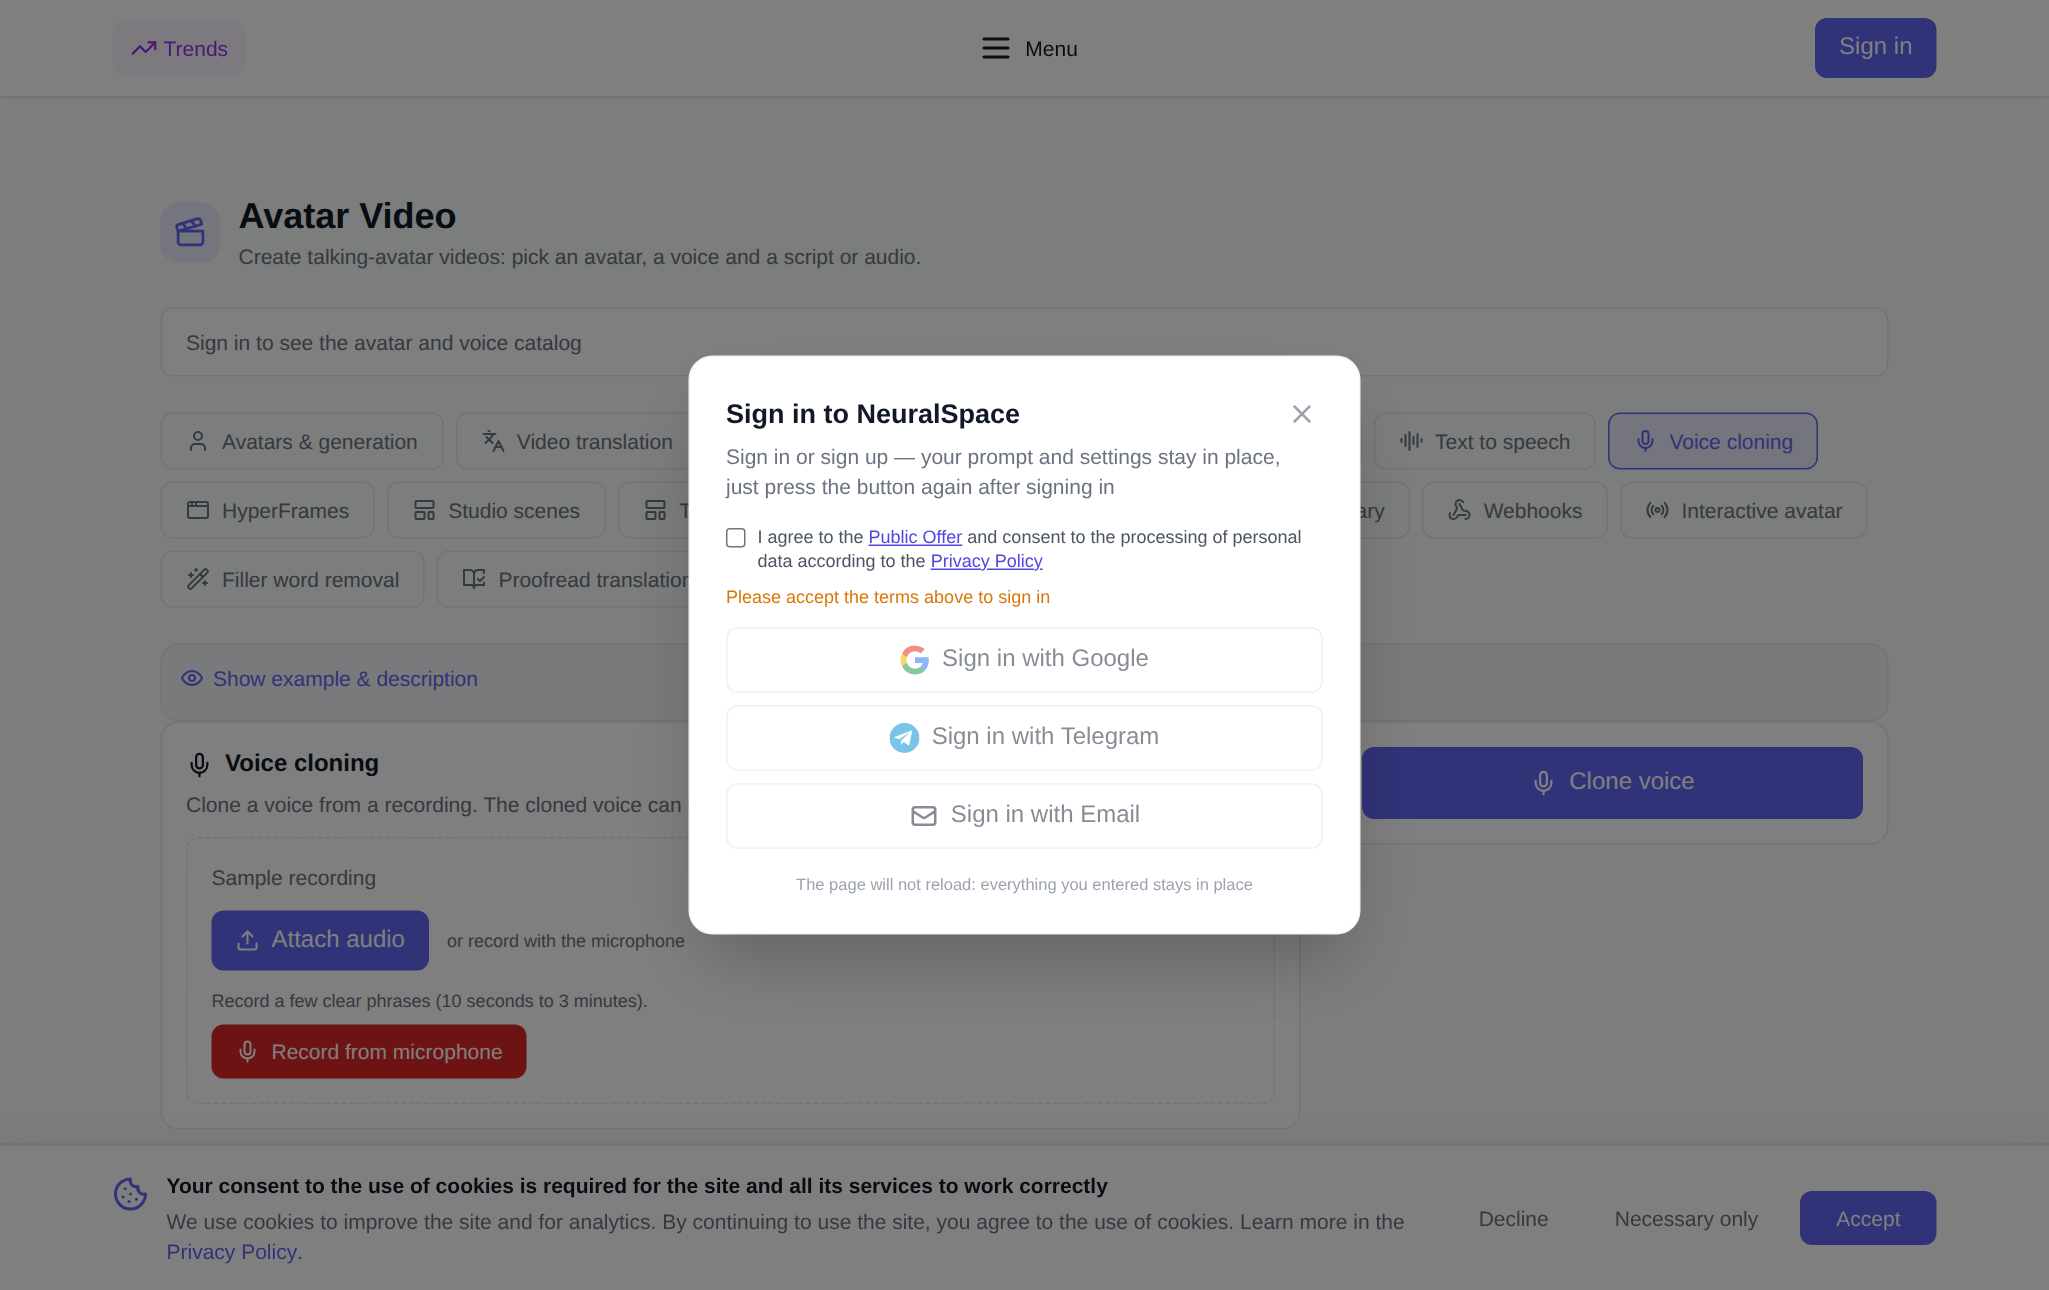
What voice cloning does
The tab takes one recording of your voice and turns it into a voice model that can voice any text. The flow: attach a sample — as a file or a microphone recording — enter a voice name, optionally set the language and keep background-noise removal on, then press “Clone voice”. Training runs on the server: the clone appears in the “My voice clones” block with a “training in progress” status and becomes ready a few minutes later. A finished clone is immediately available in the shared voice catalog — you can voice texts and videos with it just like any catalog voice.
Why you need it
- Your own voice for video: voice clips in your timbre without re-recording every edit.
- Audio versions of articles and newsletters: record a sample once, then voice as many texts as you like.
- Scale: script changes no longer require a new studio session.
- One brand voice: a single clone for all clips, courses and announcements.
- Languages: the clone can be used for voice-overs in different catalog languages.
- Time saved: no retakes just because of a slip of the tongue.
How to start on the site: step by step
- Open the Voice cloning tab in the Video avatars section and sign in — clone history and the voice catalog load after login.
- Attach a sample: upload an audio file with the upload button or record speech right on the page with “Record from microphone”.
- Enter a voice name — for example, “My voice” or “Course voice”.
- Optionally set a language hint (en, ru, etc.); leave it empty and the language is detected automatically.
- Keep the “Remove background noise” checkbox on — the clone comes out cleaner.
- Check the price in tokens: it is shown before launch.
- Press “Clone voice”. The clone appears in the “My voice clones” block; wait for the “ready” status.
- Preview the clone with the button next to its name and use it in the Avatars & generation tab.
How to record a good sample
Clone quality depends on the sample, so it is worth spending a couple of minutes on it. Length: 10 seconds to 3 minutes — a short phrase is not enough, while three minutes is usually plenty. Speak evenly and naturally, at your normal pace, without whispering or shouting. Record in a quiet room, with no music, echo or equipment hum; if there is still noise, keep background-noise removal on. Read connected text — a paragraph from an article or a few sentences — rather than isolated words: the model picks up intonation better that way. Do not change your distance to the microphone mid-recording. If you record to a file, a normal audio format without heavy compression works fine.
Where the finished clone works
The clone lands in the shared voice catalog, so it works wherever the other voices do. In the Avatars & generation tab it voices avatar videos: pick the clone instead of a catalog voice and the avatar speaks in your timbre. In the Text to speech tab the clone voices articles, letters and scripts without video. And if a clip needs translating, the clone is handy in Video translation so the same voice carries over into other languages.
How it pairs with other tabs in the section
Cloning is a building block that pays off in a pipeline. Create the clone first, then voice a text with it in the Text to speech tab or drop it into a video in the Avatars & generation tab, and translate the finished clip in Video translation. If the source text came from someone else's recording, Filler word removal and Translation proofreading will help. And if you no longer need the clone, delete it from the history — the slot is freed.
What cloning costs
The platform is billed in tokens, with no subscription: new users receive starter tokens at sign-up, and the balance can then be topped up by any amount. The price of creating a clone is fixed and shown in the interface before you press the button — what you see is what is charged. If training fails, the tokens are returned to your balance. Voicing with the finished clone is billed separately — by text length, like any other voice.
FAQ
How long should the sample for cloning be?
From 10 seconds to 3 minutes. A short phrase is not enough — the model cannot capture the timbre — while three minutes is usually plenty. Around 30–60 seconds of connected speech in a quiet room is optimal.
Can I clone a voice without a microphone?
Yes. Uploading a ready audio file with a voice recording is enough. A microphone is only needed if you want to record the sample right on the page — the tab has a “Record from microphone” button for that.
Where do I use the clone afterwards?
The clone appears in the shared voice catalog: it voices avatar videos in the Avatars & generation tab and texts in the Text to speech tab. If a clip is translated into other languages, the clone can be used in Video translation too.
What if the clone turns out badly?
Delete it from the history — the slot is freed — and create a new one from a cleaner sample: a quieter room, a steadier pace, background-noise removal on. If training failed, the tokens are returned to your balance.