Video translation with dubbing: how to voice a clip in another language

Video translation is a tool that takes a finished clip and produces a version in another language: the voice is replaced with a dub, the lips are synced to the new speech, and captions can be added on top. On NeuralSpace it lives in the Video translation tab of the Video avatars section: you upload a file or paste a link, choose a language and a mode, and get a voiced version ready to publish. Below is what the tool does, which settings shape the result, and the path from source clip to finished dub.
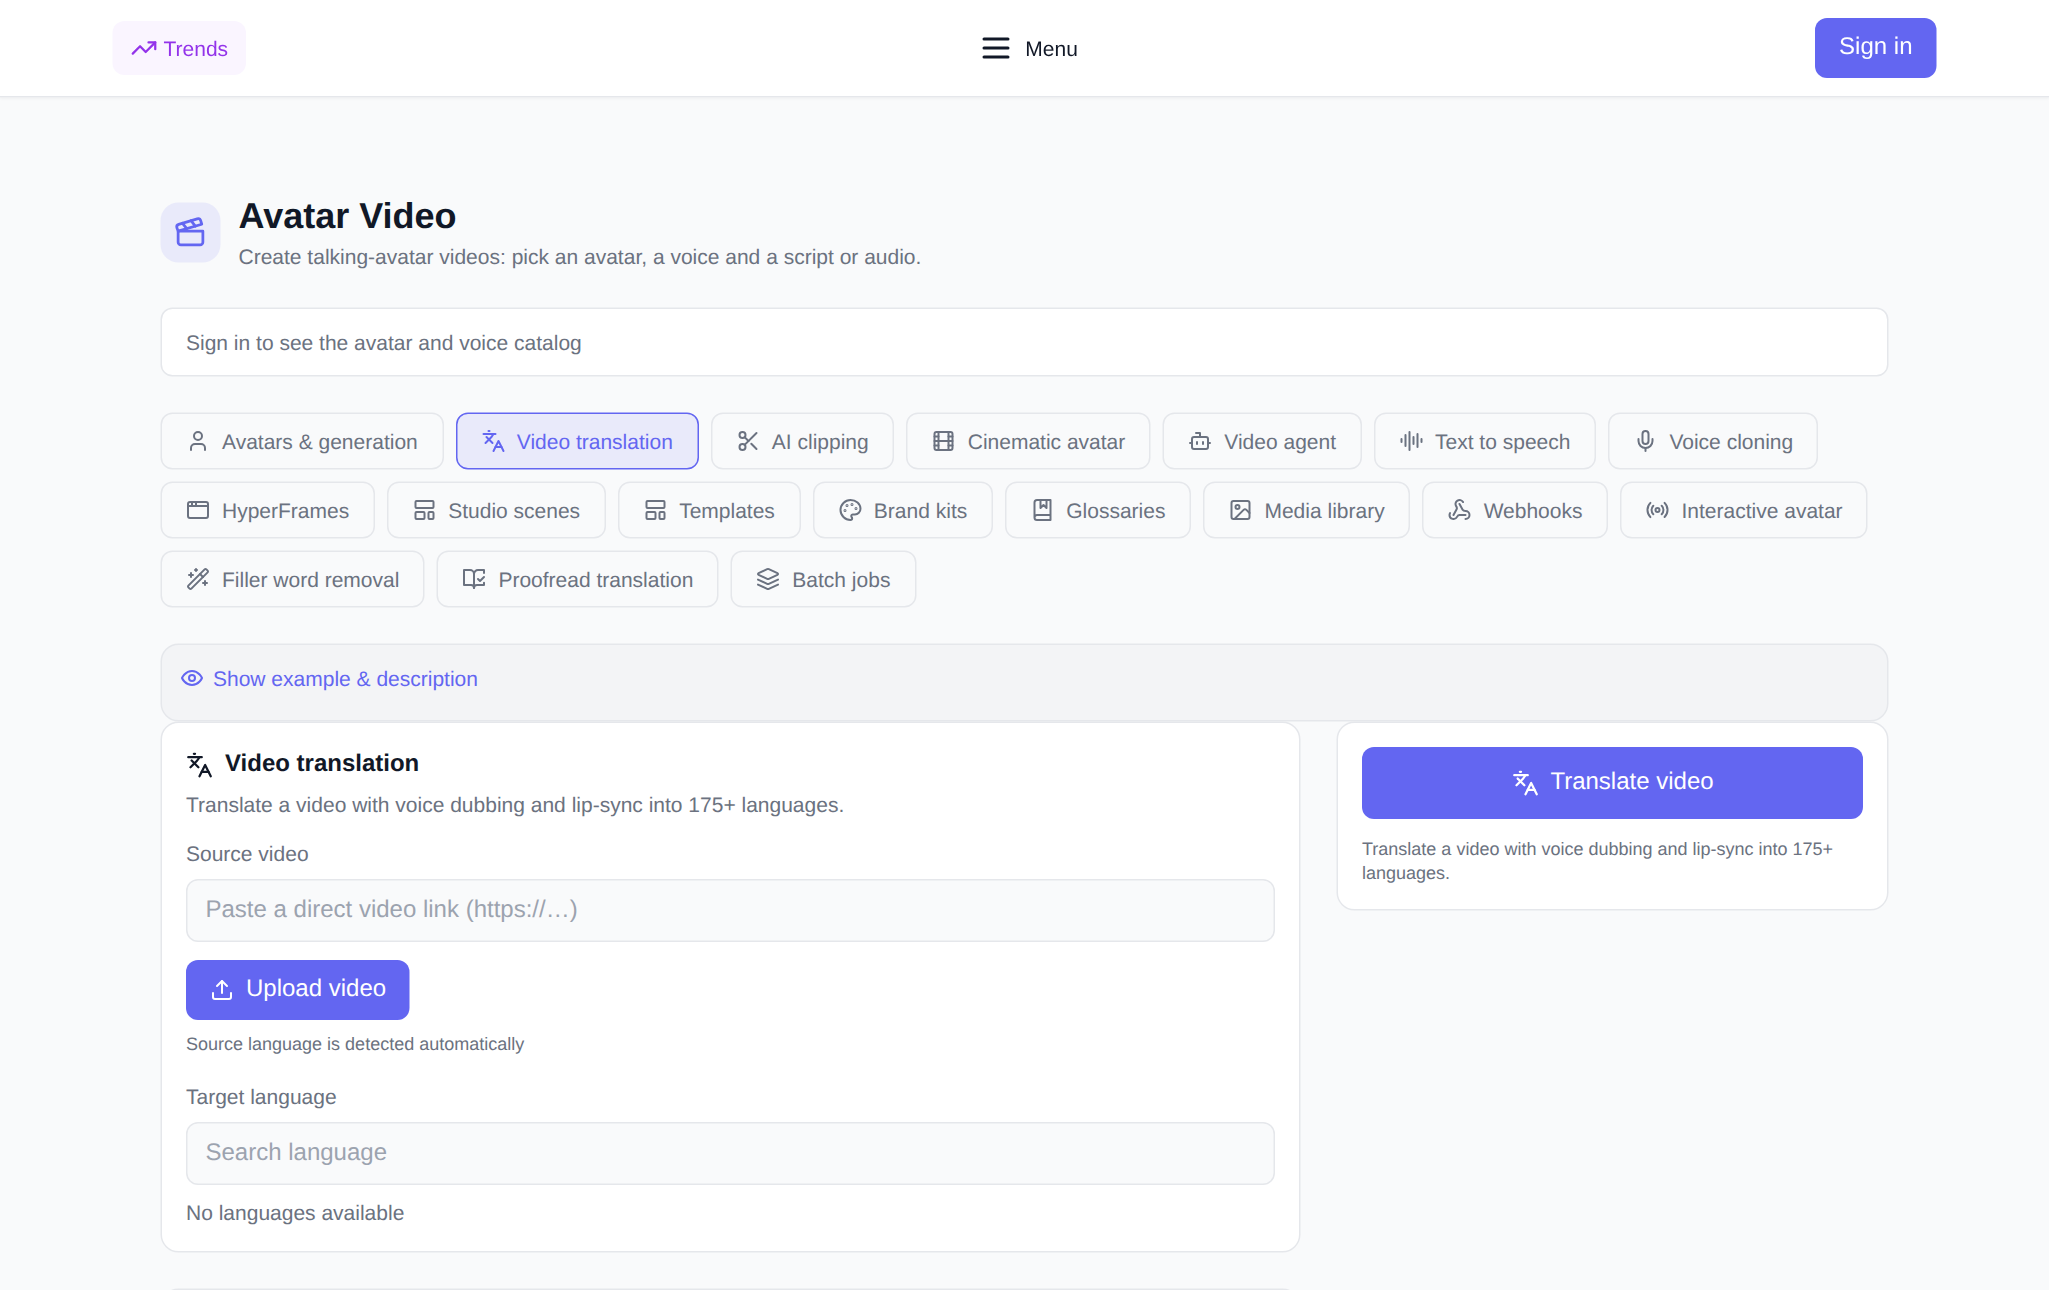
What Video translation can do
The tool translates the speech in your clip into another language and voices it again. The source language is detected automatically — you only pick the target language from a searchable list of 175+ languages. You can then turn on lip-sync so the mouth matches the translated speech, add captions, remove the background music or boost the speech. Finished jobs land in My translations, where the clip can be downloaded and the subtitles saved as a separate SRT file.
How to translate a video, step by step
- Open the tab. The address is neuralspace.pro/en/avatars?tab=translate. The section is open to everyone: you can explore it without signing in, and the login window appears only when you start.
- Add the clip. Upload a file with the Upload video button or paste a direct video link. The file name appears next to it, so you can see the source is attached.
- Pick the target language. Type the language name in the search box and select it. The source language is detected for you.
- Set up the dub. Speed mode is faster, Precision mode gives higher lip-sync quality. Below are the toggles for lip-sync, captions, dynamic duration, music removal and speech enhancement.
- Start the translation. The token price is shown before you press the button. The finished clip appears in My translations with a status and a download link.
Settings that shape the result
The translation mode is the main choice: Speed suits news and short clips, Precision is for when clean articulation matters. Lip-sync makes the dub look natural, but you can switch it off if you only need the translated audio. Dynamic duration fits the speech pace to the original so the clip does not drift out of time. If music fights the voice, turn on Remove background music; for quiet recordings use Speech enhancement. Leave the speaker count empty and the system detects it, or set the exact number for dialogues with several voices.
Captions and glossary
The Generate captions checkbox adds a text track to the translation: download it as SRT and upload it to your video platform. To keep terms and brand names consistent across clips, attach a glossary — it is set up in the separate Glossaries tab and selected right in the translation form. After translating, you can review the text in the Proofread translation tab, and save a voice for future clips with Voice cloning.
What it costs
You pay in tokens, with no mandatory subscription: new users get starting tokens, then you top up the balance with any amount. The price of a translation depends on the clip duration and the chosen mode and is shown in the form before you run it. If you do not like the result, changing the settings and running again is cheaper than re-recording by hand.
Where it helps
Video translation covers the cases where one clip has to work in several markets: localising ads and presentations, training courses for staff in different countries, interviews and podcasts with captions, short clips for foreign social feeds. One source becomes several language versions — with no reshoots and no dubbing studio.
FAQ
Do I need to specify the source language? No, it is detected automatically. You only choose the target language from the list.
Can I get captions without a dub? Yes: switch off lip-sync and turn on Generate captions to get a translated text track you can download as SRT.
How many languages are supported? More than 175: the list is searchable by language name right in the translation form.
What if my clip is long? The price is based on duration, so it makes sense to cut long recordings into clips in the AI clipping tab first, then translate the parts you need.