Video agent: a finished clip from a single brief

The video agent is a tab in the Video avatars section where a clip is assembled from a single text brief: you write what video you need, and the agent writes the script, picks the avatar and voice, chooses the style and edits the scene itself. Unlike the manual tabs, where every parameter is set by hand, here a clear task statement is enough — the agent takes care of the rest. In this guide we cover what you can specify, how the Generate mode differs from Chat, how to write a brief that gets the result you want, and what a run costs. The tool lives in the Video agent tab.
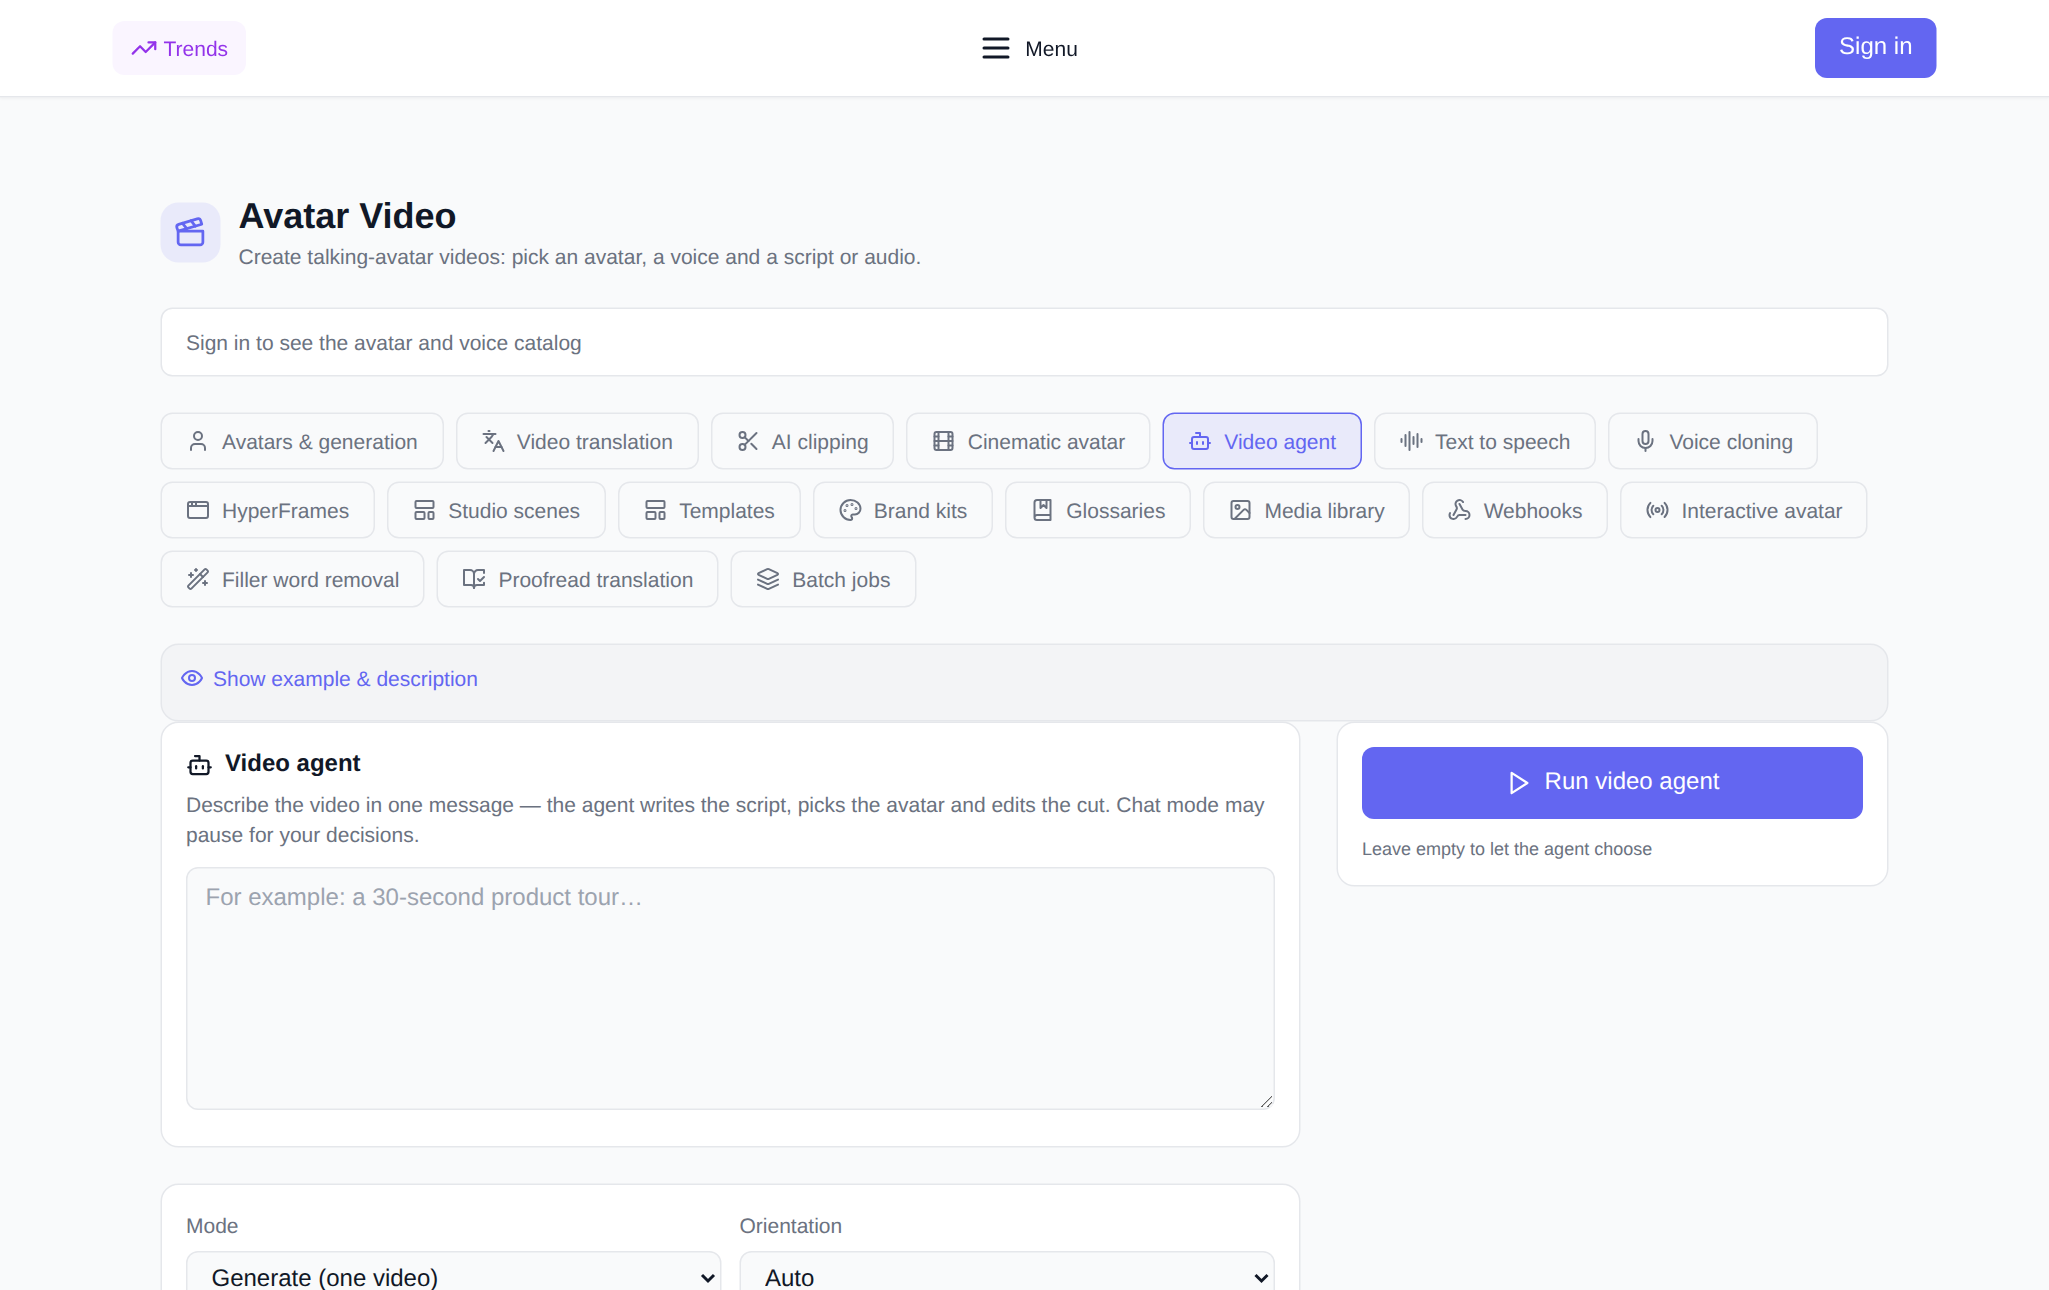
What the video agent does
The usual path to a clip is to build it piece by piece: pick an avatar, choose a voice, write the text, set the scene, wait for the edit. The video agent compresses that into one step: you describe the outcome in words and it plans the work itself. From your brief the agent derives the script, decides which avatar and voice fit, chooses the visual style and frame orientation, and edits the finished clip. Your role is to set the task and judge the result, not to configure a dozen fields.
What you can specify in the task
- Video description — up to 10,000 characters. The placeholder suggests the format: “For example: a 30-second product overview…”.
- Mode — Generate (one video) or Chat (the agent may ask questions).
- Orientation — Auto, Landscape 16:9 or Portrait 9:16.
- Style — a ready-made agent visual style; “Auto” by default.
- Brand kit — colors, logo and fonts the agent applies to the clip.
- Glossary — a dictionary of terms and names so the agent pronounces them correctly.
- Avatar — optional: leave it empty and the agent chooses.
- Voice — optional, with preview before launch.
- Attachments — up to 20 links, one per line: the agent factors them into the script.
How to launch a clip: step by step
- Open the Video agent tab in the Video avatars section and sign in — the avatar, voice and style catalogs load after login.
- Describe the video in the large field: what the clip is, who it is for, the key idea and the tone.
- Pick the mode, orientation and, optionally, a style, brand kit, glossary, avatar and voice.
- Check the price in tokens — it is shown before launch.
- Hit “Start Video Agent”. The session appears in the “My Video Agent sessions” block: the card updates its status and progress itself, and the finished clip plays and downloads with one button.
Generate or Chat: which mode to pick
Generate is for clear tasks: the agent takes the brief and immediately assembles one video without interrupting you. Chat is for tasks with forks in the road: the agent may pause and ask a question, and the session status shows “Waiting for your confirmation”. That helps when you have not settled the details yourself — say, you are torn between two scripts or unsure about the tone. If the task is clear, go with Generate: it is faster and needs no input from you.
How to write a brief that gets the clip you want
The agent works best the more specific the task is. Name three things: the goal of the clip, the audience and the key message. Add the duration, the tone and the must-have details — the product name, the call to action, facts that cannot be distorted. Example: “A 30-second overview of an online photography course for beginners: calm, friendly tone, show three benefits — hands-on practice, feedback on your work, lifetime access, and end with a call to sign up”. The fewer contradictions in the brief, the fewer clarifications you will need in Chat mode.
Where the video agent comes in handy
- Reviews and promos: a short clip about a product or service from a single paragraph.
- Explainer inserts: a topic explained in an avatar's voice, no filming.
- Social media: a vertical 9:16 clip for Shorts, Reels and TikTok.
- News and announcements: a fast release when speed matters more than manual polish.
- Localization: the same script is easy to re-voice and translate in the section's other tabs.
What a run costs
The platform is billed in tokens, with no subscription; new users receive starter tokens at sign-up, and the balance can then be topped up by any amount. The video agent's price depends on the clip's duration: an estimate is shown before launch, and once the clip is finished the charge is settled to the actual video length. If a session fails, the tokens are returned to your balance. The exact amount is visible in the interface before you press the button, so spending stays predictable.
How it pairs with other tabs in the section
The video agent works well in a pipeline: a finished clip is easy to translate into other languages in the Video translation tab, cut into short fragments in Clip cutting, while separate voice-over and voice cloning live in Text to speech and Voice cloning. The styles and brand kits the agent applies are configured in their own tabs, and if you want full manual control over every frame, head back to the Avatars & generation tab.
FAQ
How is the video agent different from regular avatar generation? In the regular tab you set every parameter yourself: avatar, voice, text, scene. The video agent takes one brief and plans the script, picks the avatar and voice, chooses the style and edits the clip itself.
Do I have to pick an avatar and a voice? No, both fields are optional: leave them empty and the agent picks suitable ones itself. If you have a specific avatar or voice, set them and the agent will use exactly those.
What if the agent asks questions? That is Chat mode: the agent pauses at a fork and waits for your answer, and the session status shows “Waiting for your confirmation”. Reply in the session, or switch to Generate if you want the agent to decide everything itself.
Can I attach my own materials? Yes, up to 20 links, one per line: the agent factors them into the script. Colors, logo and fonts are best set with a brand kit so the clip is in your style from the start.