3D Animatic: Rough Previz in Your Browser, No Blender Required
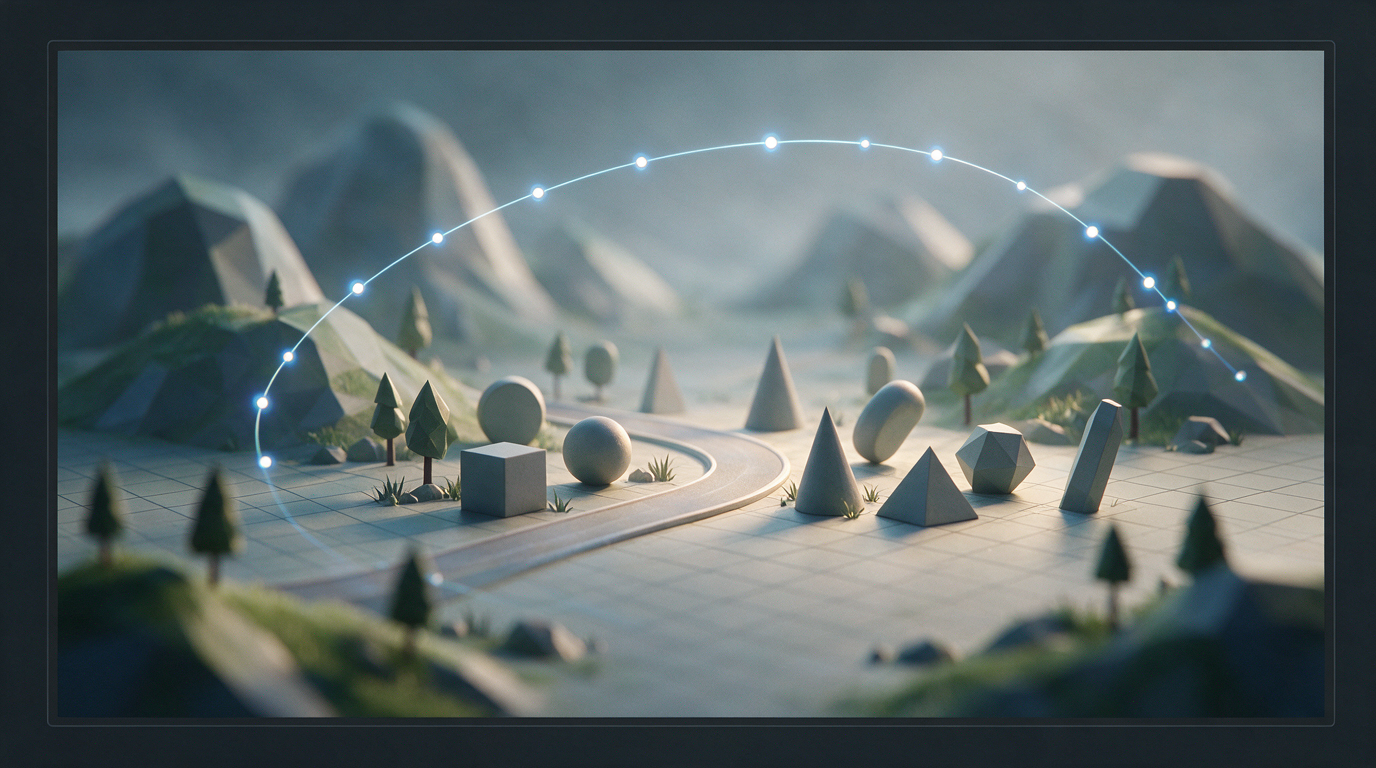
An animatic is the rough render of a video that does not exist yet: a crude 3D scene with objects already blocked in, a camera path drawn and the timing set to the second. Building one used to mean installing Blender, learning its interface and rendering on your own machine. Now the same thing happens in a browser tab: describe the scene in words, get an editable 3D scene with a timeline, and hand the finished animatic to Seedance or another video model.
Animatic, previz, blocking — the stage has a dozen names
In film and advertising this step goes by many names, and they all mean roughly the same thing. An animatic is a storyboard brought to life: frames sit on a timeline, the camera moves, durations are set. Previz (previs) is the preliminary visualisation of a whole scene before expensive production. Blocking is placing objects and characters in position, without detail. Layout is blocking plus camera and timing. A storyboard is the static paper version that an animatic grows out of.
The point is always the same: test composition, motion and rhythm on cheap geometry first, and only then spend money on the final render. That is exactly what a rough render is for — deliberately crude, but fast.
This stage used to live inside studio pipelines: Maya, Blender, Cinema 4D. For a solo creator or a small team it was out of reach — the learning curve alone eats the schedule.
No Blender: what actually runs in the browser
Our 3D Animatic is a separate model in the video section. You write a prompt like "the camera orbits a colosseum, warm evening light", attach references — and get back not a picture but a scene: a set of objects, a camera and keyframes on a timeline.
Under the hood it is Three.js and WebGL, ordinary browser graphics. Nothing gets installed and nothing renders on our servers: the scene is built and played back on your own device. Open the tab and work.
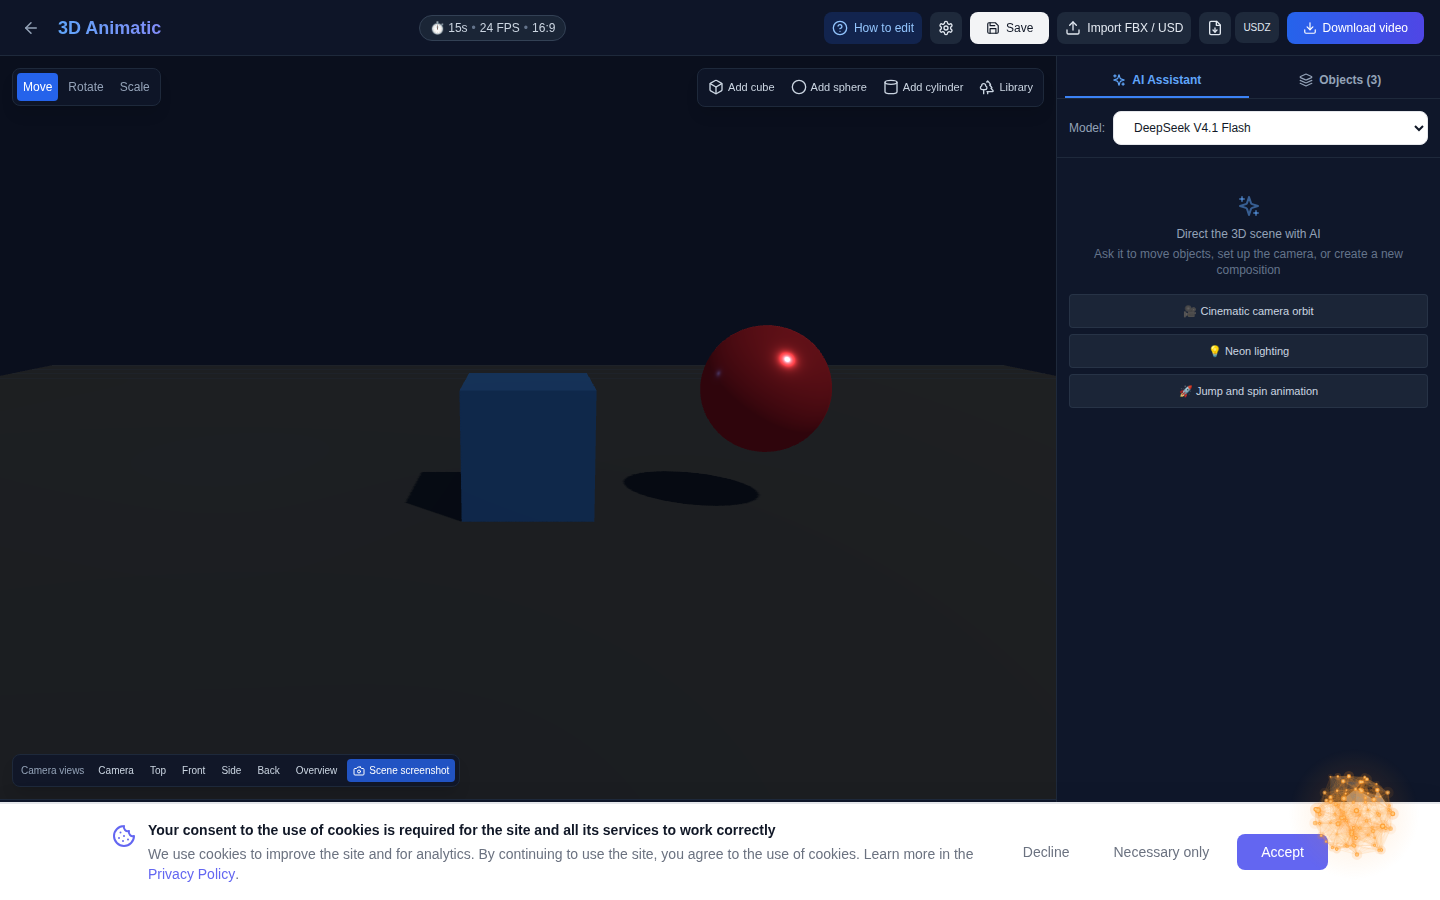
What you can do in the editor: add primitives (cube, sphere, cylinder, cone, torus, plane), move, rotate and scale them, change colour, roughness and metalness, set keyframes on objects and on the camera, pick animation curves (linear, ease in, ease out, ease in/out), and switch camera views — top, front, side, isometric. There is a library of ready low-poly models: trees, cars, people.
Import and export deserve their own mention. You can extend the scene with your own FBX or USD file and export it back as FBX or USDZ. The animatic does not stay locked inside the service — it travels into whatever pipeline you already have.
What it looks like in practice
The order is simple. Pick 3D Animatic in the model list, set the duration (up to 60 seconds), aspect ratio, frame rate and the AI model that will assemble the scene. Write your prompt, attach images or a video reference. The editor opens in a new tab right away, so you can watch the scene build up and stop generation if it drifts.
From there it is ordinary directing, only with a mouse. Drag the playhead along the timeline, place an object where you want it, hit Key. Repeat at another moment in time — the scene interpolates between keys on its own. The camera animates the same way: select it on the timeline, set a key, move it, set a second one.
If something is off, you do not have to redo it by hand: the editor has an AI chat. Type "add neon lighting and a futuristic style" or "make the camera orbit the scene" and the scene changes in place. The model sees a screenshot of the current scene, so it knows what you are talking about.
The result downloads as a video: frames are rendered in your browser and the file never leaves your machine.
Where the catch is
Honestly about the limits. First: this is a rough render, not a final frame. The geometry is simple and the materials are basic — plenty for previz and blocking, not enough for a hero shot. Second: you pay only for requests to the AI model you pick, the same way as in the Code section; the editor itself and the video render are free. Third: you need a modern browser with WebGL — on an old phone the scene will crawl.
And the main thing: an animatic does not replace a video model. It prepares the input for one.
What to do with the finished animatic: Seedance and other video models
This is where it gets interesting. An animatic is a preset for generation: object placement, camera motion, timing and angles are already decided. Hand it to a video model as a reference and you get the final clip with the same composition and the same camera move — only with real textures, light and detail.
It works with any model that accepts a video reference: Seedance 2.5, Kling, VEO, Sora. The order is straightforward: build the animatic in the browser, export the video, attach it to the generation along with your prompt. The model does not have to guess where the camera should travel — you already showed it.
That saves attempts. Instead of ten runs hoping the camera moves the right way, two or three are enough: the motion is decided up front and you can see it before a single token goes into the final render.
Where to start
Open 3D Animatic in the video section — it sits at the bottom of the model list. Start with a short 5–10 second scene and a single camera move: that shows both composition and timing, and costs little time. Once the draft works, export the video and take it to Seedance 2.5.
No Blender needed. Not to install, not to learn.